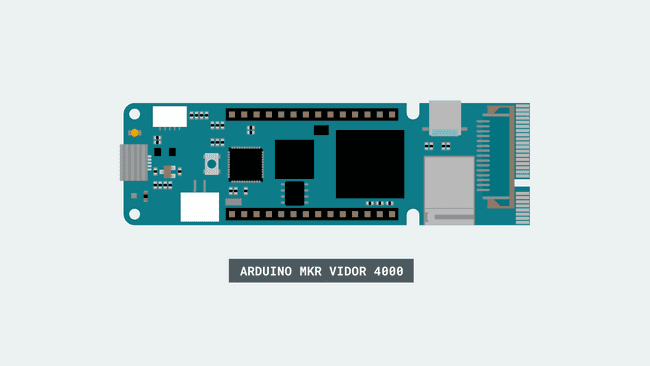
Encoder Example With MKR Vidor 4000
Manage easily quadrature encoders and never lose an impulse with the MKR Vidor 4000.
Hardware Required
- Arduino MKR Vidor 4000
- A quadrature encoder
Circuit
The encoder is connected as follows:
ENC_A to A0
ENC_B to A1

| Pin name | Description | Pin number |
|---|---|---|
| AREF | 0 | |
| A0 | ENC0_A | 1 |
| A1 | ENC0_B | 2 |
| A2 | ENC1_A | 3 |
| A3 | ENC1_B | 4 |
| A4 | ENC2_A | 5 |
| A5 | ENC2_B | 6 |
| A6 | ENC3_A | 7 |
| D0 | ENC3_B | 8 |
| D1 | ENC4_A | 9 |
| D2 | ENC4_B | 10 |
| D3 | ENC5_A | 11 |
| D4 | ENC5_B | 12 |
| D5 | ENC6_A | 13 |
| D6 | ENC6_B | 14 |
| D7 | ENC7_A | 15 |
| D8 | ENC7_B | 16 |
| D9 | ENC8_A | 17 |
| D10 | ENC8_B | 18 |
| D11 | ENC9_A | 19 |
| D12 | ENC9_B | 20 |
| D13 | ENC10_A | 21 |
| D14 | ENC10_B | 22 |
Code
Include the VidorEncoder library, which is part of VidorPeripherals.
#include "VidorPeripherals.h"#include "VidorEncoder.h"You have a number of functions available to manage the encoder:
- refer to pinout tab for pinout (index) in this pageVidorEncoder(int index)
- resets the count value to "p"void write(int32_t p);
- returns the actual countint32_t read();
1/*2
3 This sketch shows how to use the Encoder IP in MKRVidor 40004
5 Quadrature encoders are a very common way to detect position (and speed) of a moving part, like a DC motor.6
7 Normally, in the microcontroller world, decoding a quadrature encoder has serious limitations since all edges must be counted, otherwise the final number will be wrong. This is usually accomplished using interrupts, but over a certain revolution speed the intinsic overhead of servicing an interrupt destroys the count reliability.8
9 Using the FPGA to perform decoding allows:10
11 - not to lose any edge until the revolution speed is less than some million RPM :)12
13 - we can "read" the encoder at any time, because the FPGA is counting independently14
15 Circuit:16
17 connect ENC_A to A0 and ENC_B to A118
19*/20
21#include "VidorGraphics.h"22#include "VidorEncoder.h"23
24// Initialize Encoder #0 (connected to A0 and A1)25// Refer to the online documentation to find which pins correspond to a given index26// This assignment may change between bitstreams27
28VidorEncoder encoder(0);29
30void setup() {31
32 Serial.begin(9600);33
34 // wait for the serial monitor to open,35
36 // if you are powering the board from a USB charger remove the next line37
38 while (!Serial);39
40 // Let's start the FPGA41
42 if (!FPGA.begin()) {43
44 Serial.println("Initialization failed!");45
46 while (1) {}47
48 }49}50
51void loop() {52
53 // Read the encoder54
55 int value = encoder.read();56
57 Serial.print("Encoder value: ");58
59 Serial.println(value);60
61#if 162
63 // Wait one second with interrupts disabled64
65 noInterrupts();66
67 // We can't call delay() since it uses interrupts, so use busy loops68
69 for (int i = 0; i < F_CPU / 10; i++) {70
71 asm ("nop");72
73 }74
75 interrupts();76
77#else78
79 delay(200);80#endif81
82 if (value >= 200 || value <= -200) {83
84 // Reset the count85
86 encoder.write(0);87
88 }89}Last revision 2018/07/22 by SM